

Not every epoxy floor is the same, and on a South Florida slab the difference shows up within the first few summers.
This guide walks through how Casa Garage installs a high-end flake floor, from moisture testing and diamond grinding to a full-broadcast system sealed with a UV-stable polyaspartic topcoat. See why the steps you never see in the finished photo decide whether the floor still looks new in year ten.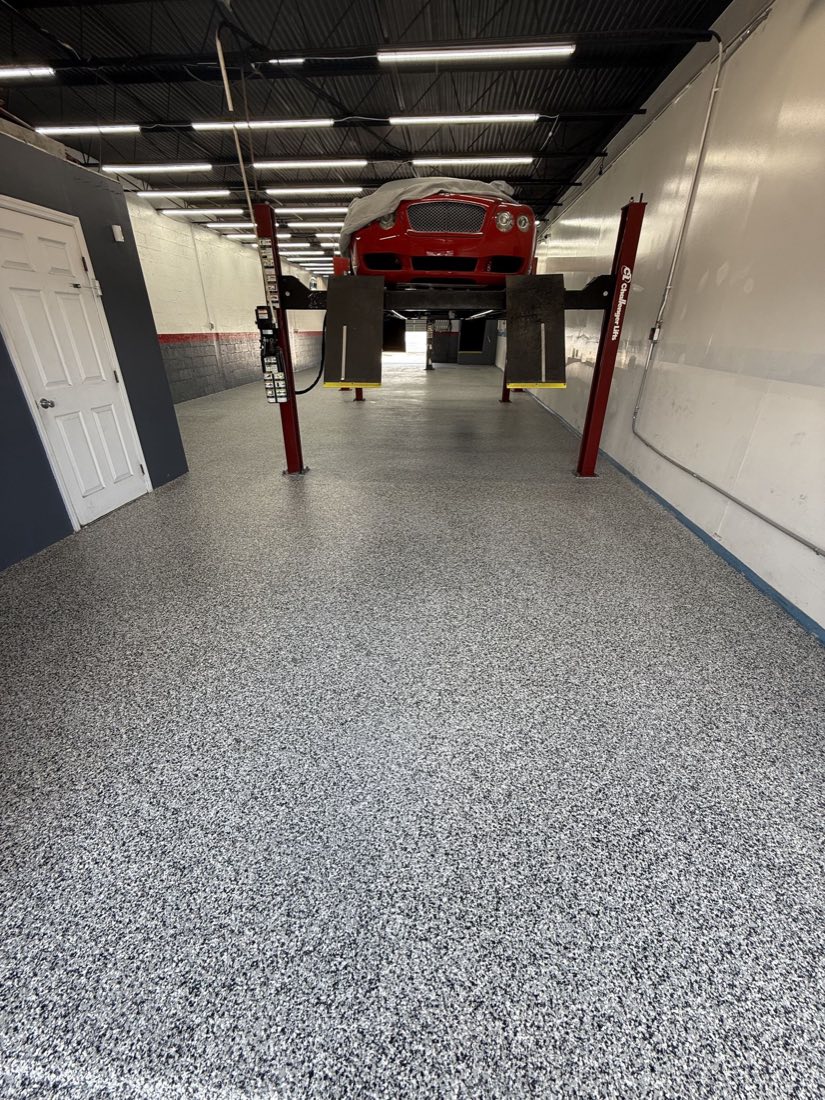
Flooring · Process
A finished flake floor looks effortless. Getting one that still looks that way in year ten — on a South Florida slab — is a matter of preparation, chemistry, and sequence. Here is the process, step by step.
Casa Garage · Doral, Florida
The phrase “epoxy floor” covers an enormous range of outcomes. On one end is a thin, water-based kit rolled over a swept slab on a Saturday afternoon. On the other is a multi-layer resinous system installed over a mechanically prepared, moisture-tested concrete substrate — the kind of floor that anchors a full luxury garage remodel and shrugs off hot tires, jack stands, and a decade of Florida humidity.
Both get called epoxy. They have almost nothing in common. This article walks through what a professional epoxy garage conversion actually involves, and why the steps you never see in the finished photo are the ones that decide whether the floor lasts.
Florida slabs are a special case
Most of what is written about garage floor coatings assumes a Midwestern slab: old, dry, and stable. South Florida concrete lives a different life. The water table across Miami-Dade sits close to the surface, many slabs were poured without an effective vapor barrier, and ambient humidity runs high for most of the year. The result is moisture vapor constantly migrating up through the concrete.
Moisture vapor is the single most common reason garage coatings fail here. An epoxy film is, by design, nearly impermeable — so when vapor pressure builds beneath it, the coating delaminates in blisters and sheets. No amount of surface cleaning prevents this. It has to be measured and, where necessary, addressed with the right primer before the first coat goes down.
That is why a serious installer starts with testing rather than rolling. Calcium chloride tests and in-slab relative humidity probes tell us what the slab is doing beneath the surface. If readings are elevated, the system is built on a moisture-mitigating epoxy primer engineered to tolerate vapor drive — a step a DIY kit simply does not include.
Preparation: grinding, not etching
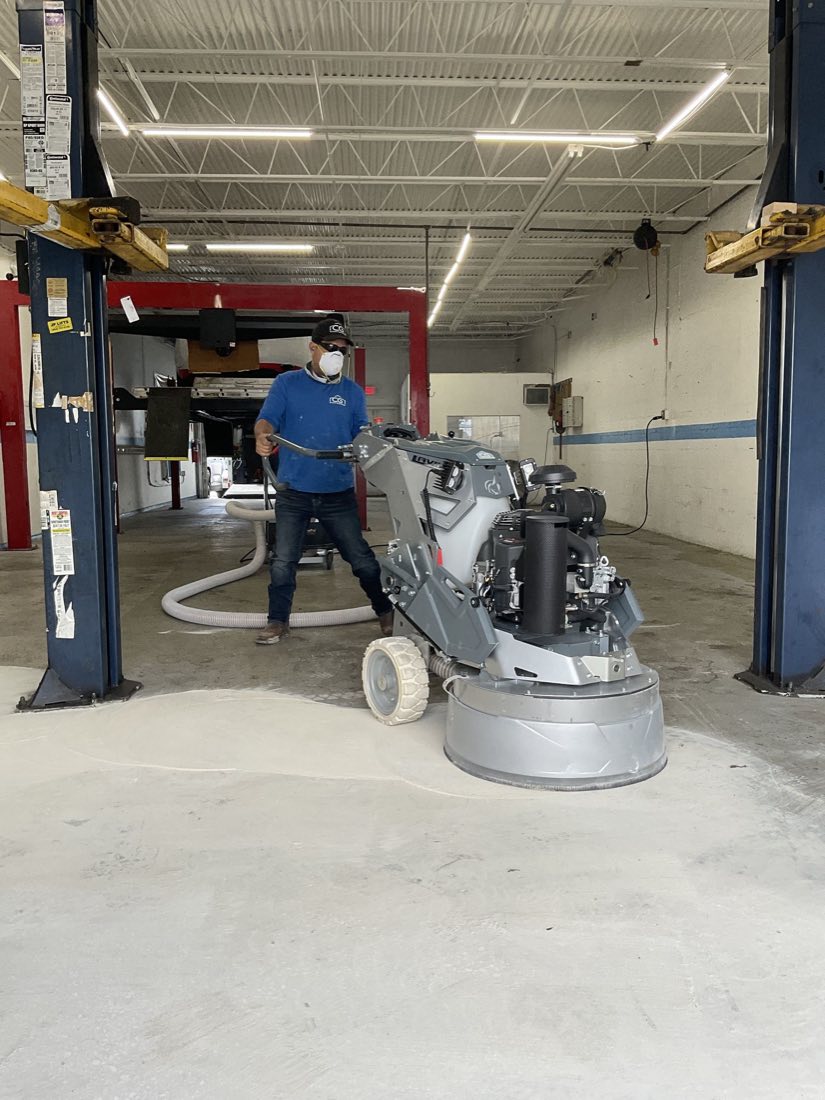
Coatings do not stick to concrete because concrete is clean. They stick because the surface has a mechanical profile — microscopic texture that the resin keys into. The industry describes this as a concrete surface profile, or CSP, and for a flake system the target is roughly CSP 2–3: the texture of fine sandpaper.
The only reliable way to get there is diamond grinding. We run planetary grinders with dust extraction across the entire slab, removing laitance (the weak, powdery top layer of cured concrete), old sealers, curing compounds, and any previous coatings. The acid-etch method suggested on kit packaging is a shortcut that rarely achieves a real profile — and on a troweled Florida slab it often leaves the dense cap almost untouched, which is why so many etched floors peel at the first hot-tire contact.
Preparation also means repair. Control-joint edges get honored or filled depending on the design intent, spalls and pitting are patched with epoxy mortar, and cracks are chased and filled so they do not telegraph through the finished surface. On a high-end installation, this stage routinely takes as long as the coating itself. It should.
The system: what the layers do
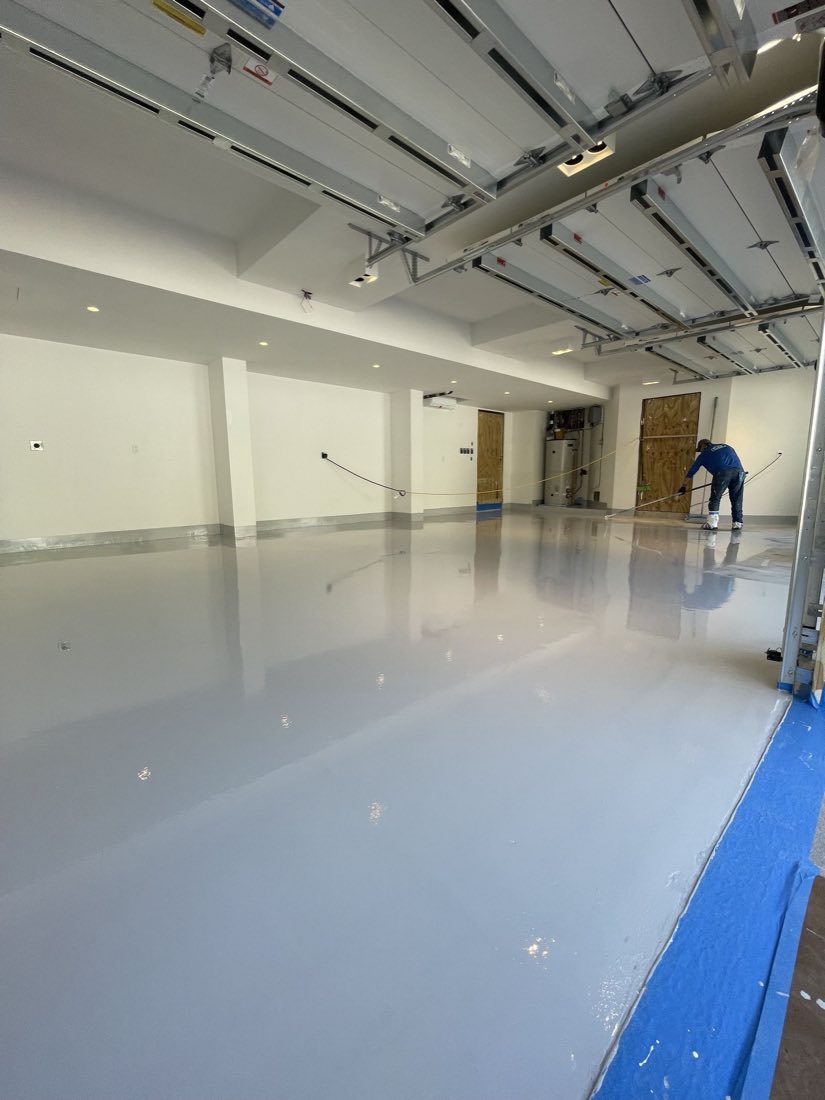
A full-broadcast flake floor — the finish most of our Miami clients choose — is not one product but a stack of them, each with a job:
- Primer / moisture barrier. A low-viscosity epoxy that wets into the open pores of the ground slab and, in a moisture-mitigating formulation, blocks vapor drive. This layer is the foundation of adhesion.
- Pigmented base coat. A 100%-solids epoxy body coat, colored to complement the flake blend. Applied at a controlled thickness so the broadcast has something to seat into.
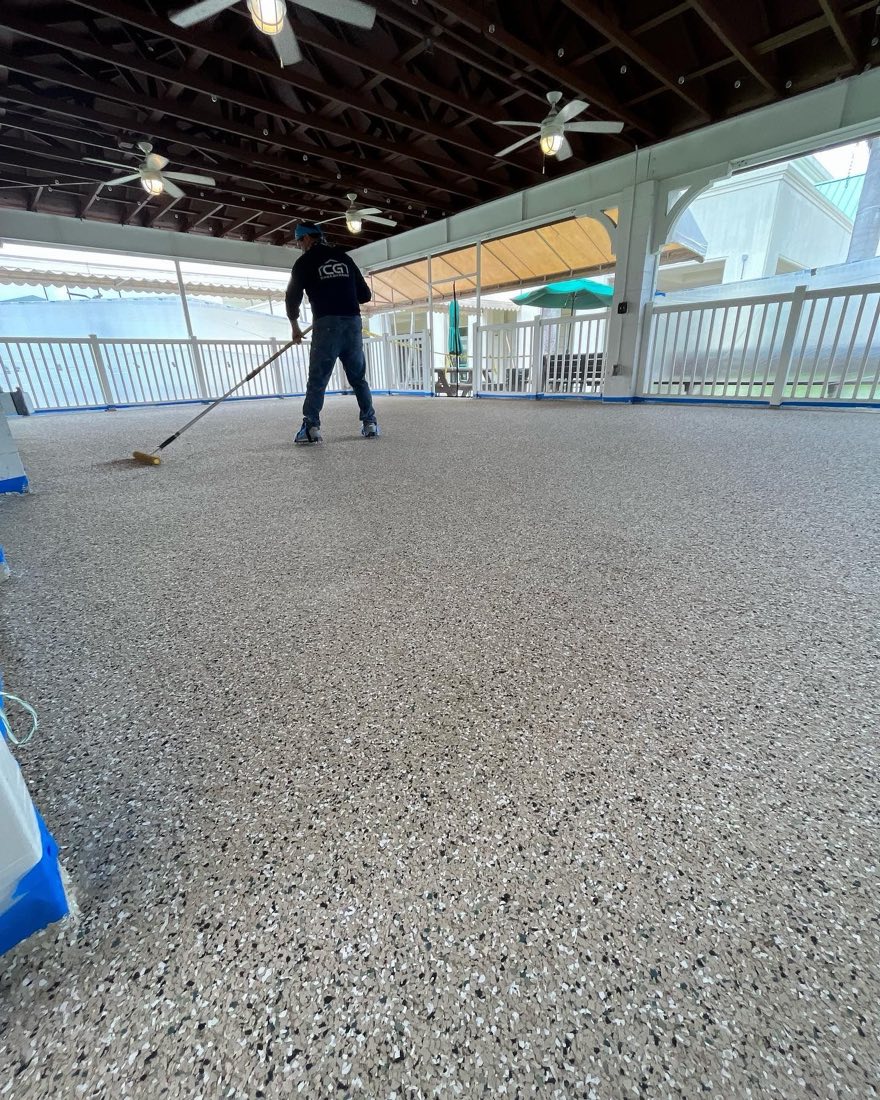
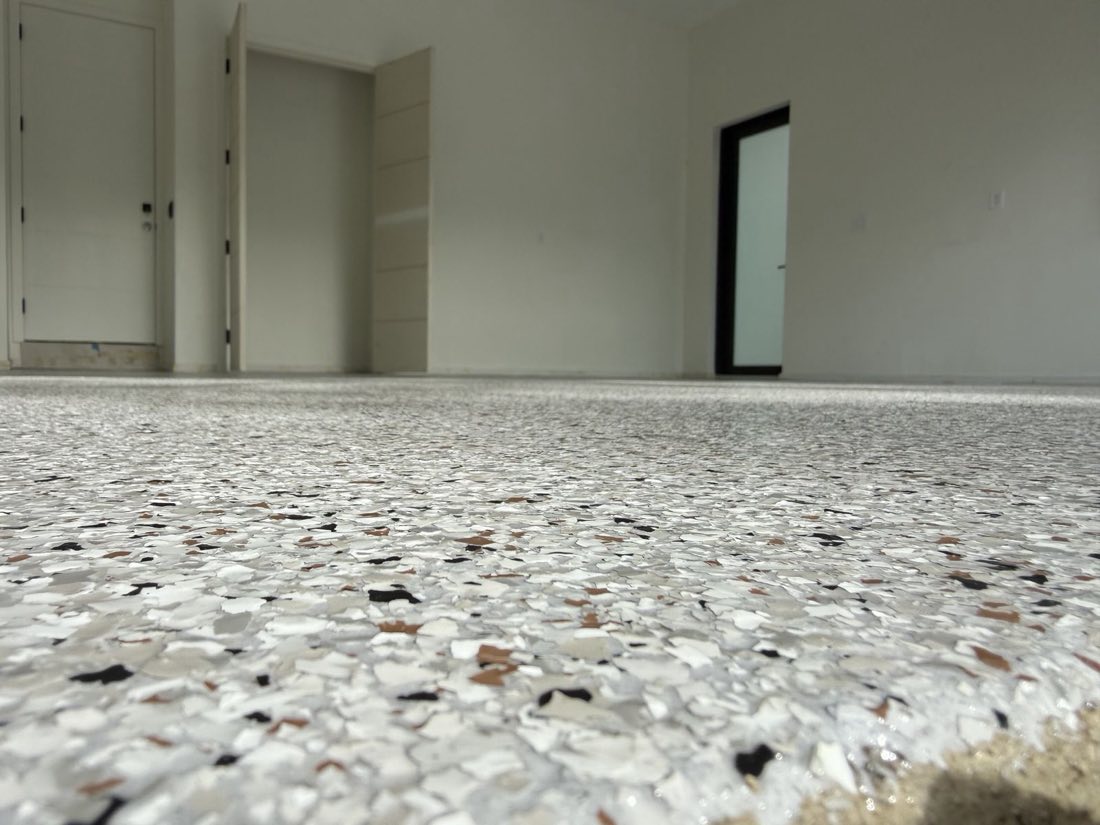
- Full flake broadcast. Vinyl flake is thrown to rejection — meaning the wet base coat is completely covered until it cannot accept more. This is what produces the uniform, terrazzo-like density you see in a professional floor, rather than the sparse confetti look of a partial broadcast.
- Scrape and reclaim. Once cured, the excess flake is scraped, sanded, and vacuumed off, leaving a level, interlocked surface.
- Clear topcoat. Usually a polyaspartic or polyurea rather than epoxy. This is the wear layer — the chemistry that actually meets tires, chemicals, and sunlight.
Why the topcoat chemistry matters in Miami
Epoxy is a superb body coat and a mediocre finish coat. Left as the top layer, it ambers and chalks under UV exposure — a real issue in a garage that faces the afternoon sun with the door open — and it stays soft enough that hot performance tires can pull it up over time.
Polyaspartic topcoats solve both problems. They are UV-stable, so the floor keeps its color; they cure harder and faster, so vehicles can often return within a day or two rather than a week; and their abrasion and chemical resistance is what keeps a floor cleanable after years of road grime, brake dust, and the occasional fluid drip. We also broadcast a fine anti-slip aggregate into the topcoat where clients want extra traction — worth discussing for households with kids, or garages that double as training spaces.
Cure, timeline, and what to expect
A typical two-car residential conversion runs two to three days on site: grinding and repair on day one, base coat and broadcast that afternoon or the following morning, scrape and topcoat on the final day. Foot traffic is usually fine the next morning; vehicles wait 24–72 hours depending on the topcoat and the weather. Full chemical cure continues for about a week, so we ask clients to hold off on dragging heavy toolboxes or parking a car that just came off the highway during that window.
Humidity and slab temperature shift these numbers, which is one more reason installation in South Florida benefits from a crew that works here every week. Resins have application windows; a summer afternoon storm can take a garage from workable to out-of-spec in an hour, and knowing when not to coat is part of the craft.
Why the DIY kits fail — a fair accounting
The failure of hardware-store epoxy kits is not a marketing story; it is a materials story. The common kit is a water-based epoxy applied at 3–5 mils (about the thickness of a coat of paint) over an acid-etched slab. Compare that with a professional system at 25–40+ mils, mechanically bonded to ground concrete, with a purpose-built wear layer on top. The kit fails predictably:
- Hot-tire pickup. Thin, soft films re-soften under a hot tire and peel when the car pulls away.
- Moisture delamination. No testing, no mitigating primer — vapor pressure lifts the coating from below.
- Poor adhesion. Acid etching over a hard-troweled slab leaves nothing for the resin to grip.
- UV ambering. Epoxy left as the finish layer yellows in Florida light.
None of this means a homeowner did anything wrong. It means the product was never engineered for the job it was sold to do.
The floor is usually the first move
In most of our projects — from Coral Gables to Southwest Ranches — the floor is phase one of something larger. Once the slab is finished, cabinetry, slatwall, and lighting go in over a surface that ties the room together, and the garage starts behaving like the rest of the house. If that is the direction you are heading, our guides to the full garage remodel and the garage gym conversion pick up where the floor leaves off. También disponible en español: remodelación de garaje en Miami.

Considering a floor that outlasts the trends?
We design and install complete garage environments across Miami-Dade and Broward — flooring, cabinetry, storage, and lighting, built as one system. A conversation costs nothing.
Or call (786) 883-5950
